Looking to discover the vibrant culture, delectable cuisine and breathtaking landscapes of India? Then get ready to pack your bags because we’re about to unveil a step-by-step guide that will help you obtain an Indian visa from the Philippines with ease. Whether you’re planning a solo adventure or embarking on a family vacation, this comprehensive guide will walk you through everything you need to know – from navigating the application process, selecting the right type of visa for your needs, to gathering all necessary documents and more. So let’s dive in and take your first step towards an unforgettable trip! Indian Visa from USA
Overview of Indian Visa Requirements for Philippines Citizens
If you’re a Philippines citizen planning to travel to India, you’ll need to obtain a visa before your trip. The good news is that the process is relatively straightforward, and in this article, we’ll walk you through everything you need to know about getting an Indian visa from the Philippines.
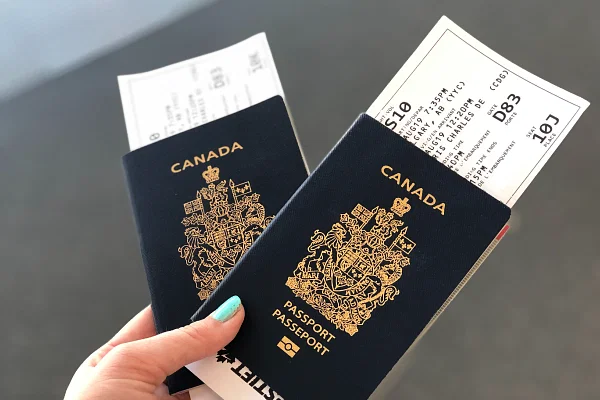
First, let’s start with the basics: what exactly is an Indian visa, and who needs one? An Indian visa is simply an official document that allows you to enter India for a specific purpose, such as tourism, business, or study. As a Philippines citizen, you will need a visa to enter India unless you are of Indian descent or have an Overseas Citizenship of India (OCI) card.
The next step is to figure out which type of visa you need. The most common type of visa for Philippines citizens traveling to India is the tourist visa, which allows you to stay in the country for up to 60 days. If you’re planning on staying longer or want to visit for business or study purposes, you’ll need to apply for a different type of visa.
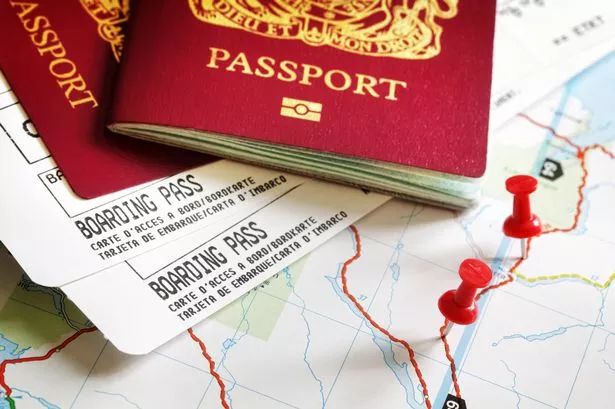
Once you’ve determined which type of visa you need, it’s time to begin the application process. The first step is to fill out an online application form on the website of the Indian consulate in Manila. You’ll also need to submit several documents along with your application form, including your passport, photos, and proof of travel plans.
After your application has been submitted, it will be
How to Apply for an Indian Visa from the Philippines
If you’re a Filipino citizen planning to travel to India, you’ll need to apply for a visa. The good news is that the process is relatively straightforward, and can be completed entirely online. Here’s a step-by-step guide to help you through the process:
1. Go to the website of the Indian Embassy in Manila and create an account. Indian Visa from Philippines
2. Fill out the online application form, being sure to include all required information and documents.
3. Pay the visa fee using a credit or debit card. You can also pay via bank transfer, but this will take longer to process.
4. Once your payment has been processed, you’ll need to schedule an appointment for an in-person interview at the Indian Embassy. This is generally done through the online booking system, but you can also call or email to make an appointment.
5. Attend your interview and submit any additional required documents, such as your passport photos or travel itinerary.
6. If everything is in order, your visa will be issued within a few days and you’ll be ready to start planning your trip to India!
Documentation and Other Requirements
If you are a citizen of the Philippines, you will need to obtain a visa before traveling to India. There are a few different types of visas that you can apply for, depending on the purpose of your travel. The most common type of visa for tourists is the e-Tourist Visa (eTV), which allows you to stay in India for up to 60 days.
To apply for an eTV, you will need to fill out an online application and submit the required documents. These include a passport-sized photo, your passport, and a credit or debit card for payment. Once your application is approved, you will receive an email with your eTV and instructions on how to activate it. You will then be able to print out your eTV and use it to enter India.
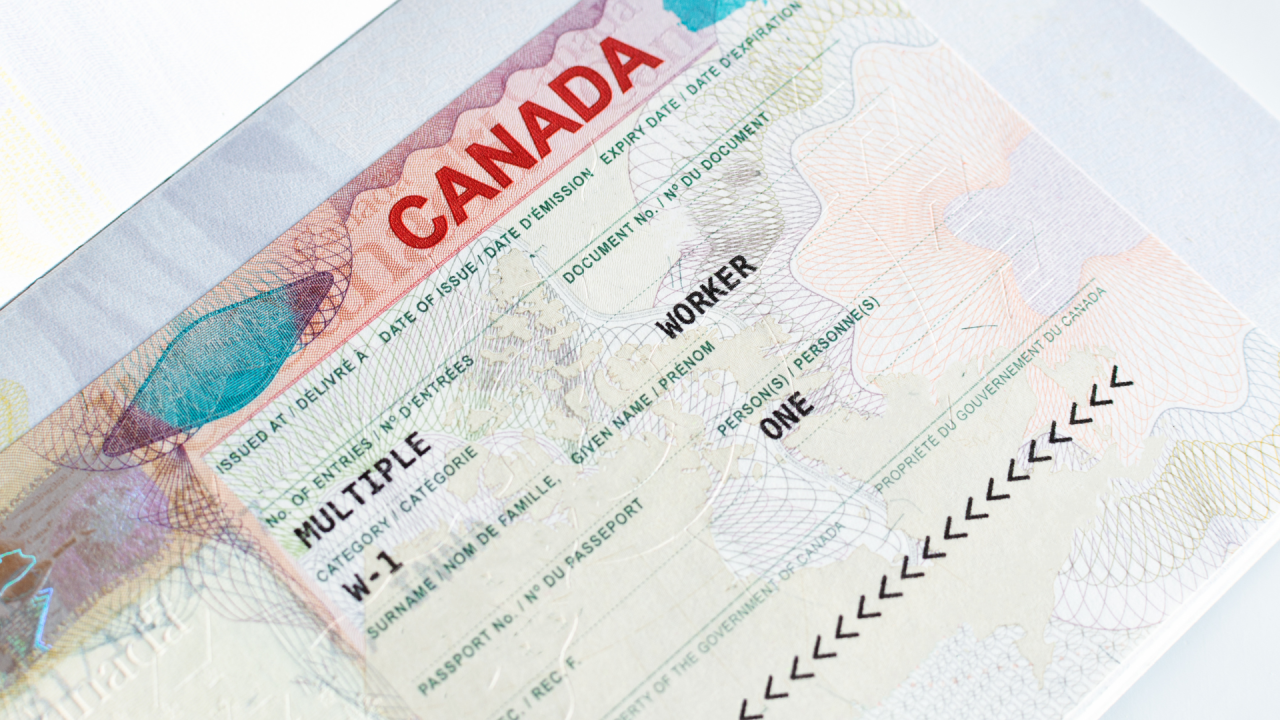
It is important to note that the eTV is only valid for tourism purposes and cannot be used for business or employment purposes. If you plan to stay in India for longer than 60 days or if you need a visa for another purpose, you will need to apply for a different type of visa. For more information on Indian visas and the requirements for each type, you can visit the website of the Indian Embassy in Manila.
Processing Times and Costs
The Indian visa application process is fairly simple and straightforward, but there are a few things you need to know in order to get your visa in a timely and cost-effective manner.
First, it’s important to know that the processing time for an Indian visa can vary depending on your country of residence. If you’re a citizen of the Philippines, you can expect your visa to be processed within 7-10 business days. However, if you’re a citizen of another country, the processing time may be different.
It’s also important to note that there is a fee for applying for an Indian visa. The current fee is $60 USD for citizens of most countries, although there are some exceptions. For example, citizens of Bhutan and Nepal are exempt from the visa fee.
Once you have all of the necessary documents and information, you can begin the application process by filling out the online form at the website of the Indian consulate or embassy in your country. After you submit your application, you’ll need to schedule an appointment for an in-person interview at the consulate or embassy. Be sure to bring all of the required documents with you to your interview.
After your application is approved, you’ll receive your visa within a few days. You can then use it to travel to India!
Conclusion
Applying for an Indian Visa from Philippines is a relatively straightforward process. By following the steps outlined in this article, you should be able to successfully apply and receive your visa with minimal stress or hassle. From gathering the necessary documents to sending out your application, we have provided all the information you need to make sure that everything goes smoothly and quickly so that you can start planning your trip as soon as possible!