Are you ready to embark on an incredible journey through the vibrant and diverse land of India? Well, we have some exciting news for you! Gone are the days of tedious paperwork and long queues at embassies. With the introduction of the new e-visa system, applying for an Indian visa has never been easier or more convenient. In this blog post, we will guide you through the step-by-step process of obtaining your Indian e-visa online. So grab your passport and get ready to experience all that this enchanting country has to offer – hassle-free! INDIAN VISA APPLICATION
Introduction to the new E-Visa System in India
The Indian government has recently introduced a new E-Visa system for foreign tourists looking to visit the country. This electronic visa system is designed to make the process of obtaining an Indian visa easier and more convenient for travelers around the world. In this section, we will delve into the details of this new E-Visa system and how you can apply for an Indian visa online.
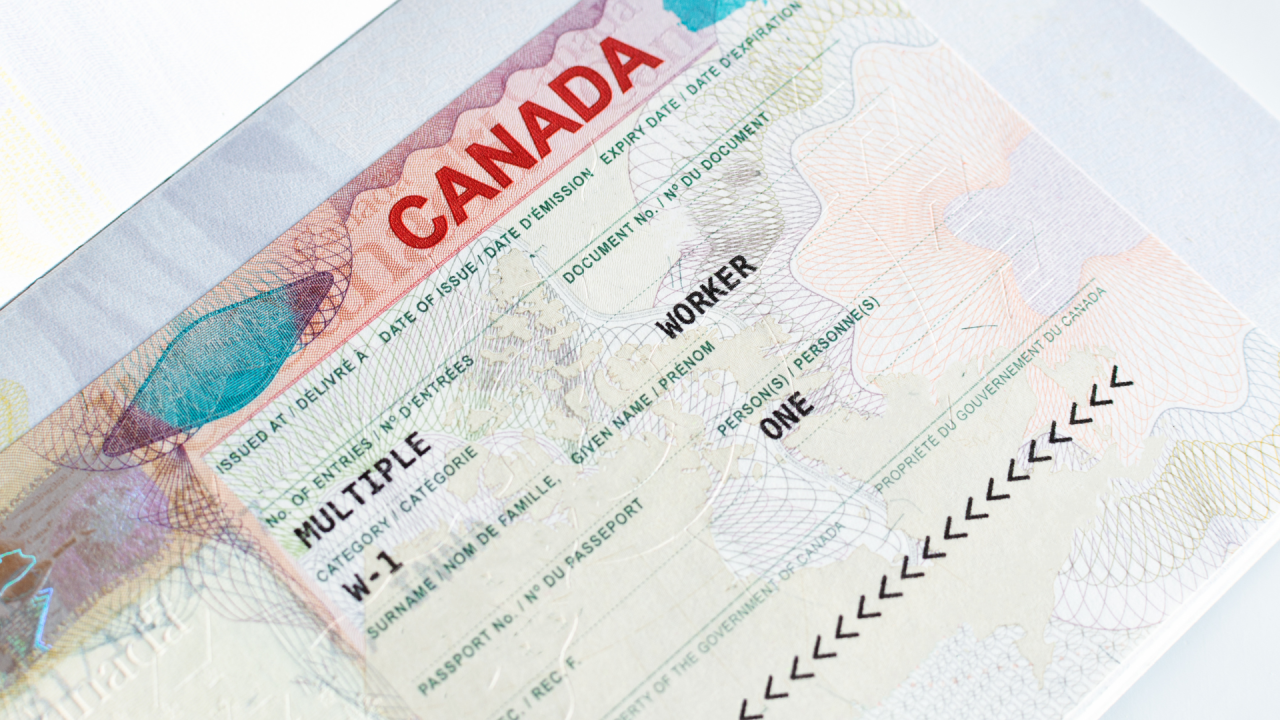
Firstly, what exactly is an E-Visa? An E-Visa or Electronic Travel Authorization (ETA) is an electronically generated authorization that allows foreign nationals to enter India for tourism, business or medical purposes. It eliminates the need for physical paperwork and visits to embassies or consulates, making it a hassle-free process.
The introduction of the new E-Visa system in India has brought about several changes that have made it simpler and faster for travelers to obtain their visa. The most significant change is that now visitors can apply for their visas online from anywhere in the world, as long as they have access to a stable internet connection.
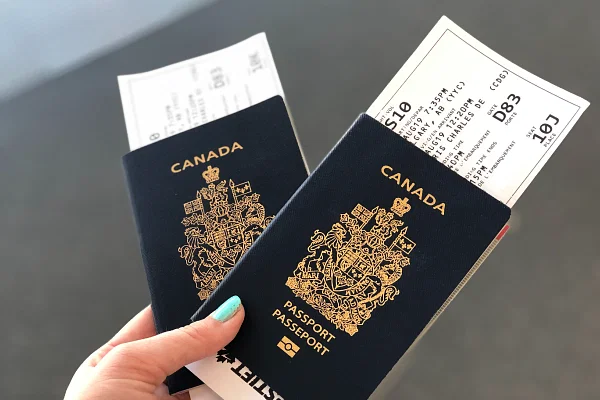
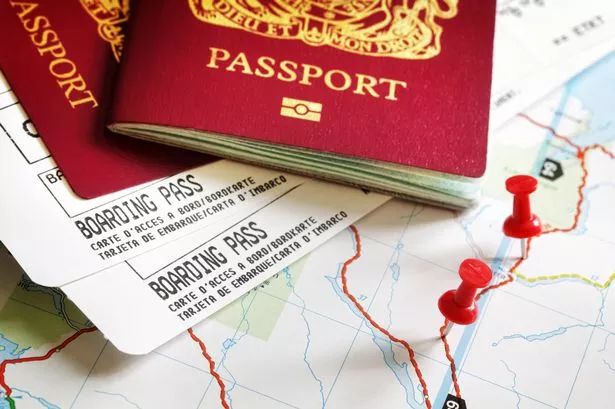
Previously, tourists had to go through a lengthy process of filling out forms, submitting documents and waiting in long queues at Indian embassies or consulates. With the new E-Visa system, all of this can be done with just a few clicks from the comfort of one’s home. INDIAN VISA ON ARRIVAL
To apply for an Indian visa online, applicants need to visit the official website of Government of India’s e-Tourist Visa Portal
Benefits of the E-Visa System for travelers
The introduction of the E-Visa system has revolutionized the process of obtaining an Indian visa for travelers. Gone are the days of long queues, paperwork, and waiting periods at embassies or consulates. With just a few clicks, travelers can now apply for their visa online and receive it in a matter of days. In this section, we will delve deeper into the benefits of this new system for travelers.
1. Convenience and Time-Saving:
One of the biggest advantages of the E-Visa system is its convenience. The entire application process can be completed online from anywhere in the world, eliminating the need to visit an embassy or consulate in person. This saves time and effort for travelers who no longer have to take time off work or make multiple trips to obtain their visa.
2. Easy Application Process:
The traditional method of applying for an Indian visa involved filling out lengthy forms and providing numerous documents, which could be confusing and time-consuming. With the E-Visa system, applicants only need to fill out a simple online form with basic personal information, travel details, and upload a scanned copy of their passport and photograph.
3. Faster Processing Time:
With traditional visa applications, it could take several weeks to receive approval from authorities. However, with E-Visas, most applications are processed within 3-5 business days (depending on your nationality). This means that travelers can plan their trip without having to worry about delays in receiving their visa.
4. Cost Savings
Step-by-step guide on how to apply for an Indian Visa online
Applying for an Indian Visa used to be a time-consuming and complicated process, involving long queues at the embassy and piles of paperwork. However, with the introduction of the new E-Visa system, travelers can now easily apply for their Indian visa online from the comfort of their own home. To help you navigate through this new process, here is a step-by-step guide on how to apply for an Indian Visa online.
Step 1: Determine your eligibility
Before starting your application, it is important to make sure that you are eligible for an E-Visa. The Indian government offers E-Visas for tourism, business, medical and conference purposes only. You must also hold a passport from one of the eligible countries listed on the official website of Indian e-visa.
Step 2: Visit the official website
The next step is to visit the official website of Indian e-visa. This user-friendly website allows applicants to complete their visa application form in just a few simple steps.
Step 3: Choose your visa type
On the homepage of the website, click on “Apply here for e-visa”. You will then be redirected to a page where you can select your desired visa type based on your purpose of travel.
Step 4: Fill out your personal information
Once you have selected your visa type, you will need to fill out all required personal information such as name, date and place of birth, email address
Creating an account on the Indian Visa website
Creating an account on the Indian Visa website is a simple and necessary step in order to apply for an e-Visa. This account will allow you to save your application progress, track the status of your visa, and make any necessary changes or updates before submission. Here’s a detailed guide on how to create an account on the Indian Visa website.
Step 1: Visit the Official Indian Visa Website
The first step is to visit the official Indian Visa website -. This is the only authorized website for applying for an e-Visa to India.
Step 2: Click on Register Tab
On the top right corner of the homepage, you’ll see a “Register” tab. Click on it to begin creating your account.
Step 3: Select Your Country of Residence
Next, you’ll be prompted to select your country of residence from a drop-down menu. Make sure you choose the correct country as it can affect the type of e-Visa you are eligible for.
Step 4: Fill in Personal Details
You’ll then need to fill in your personal details including your full name, email address, mobile number and date of birth. It’s important that these details are accurate and match with those on your passport.
Step 5: Create Password
Create a strong password which includes at least one uppercase letter, one lowercase letter, one number and one special character (e.g., @#$%&*).